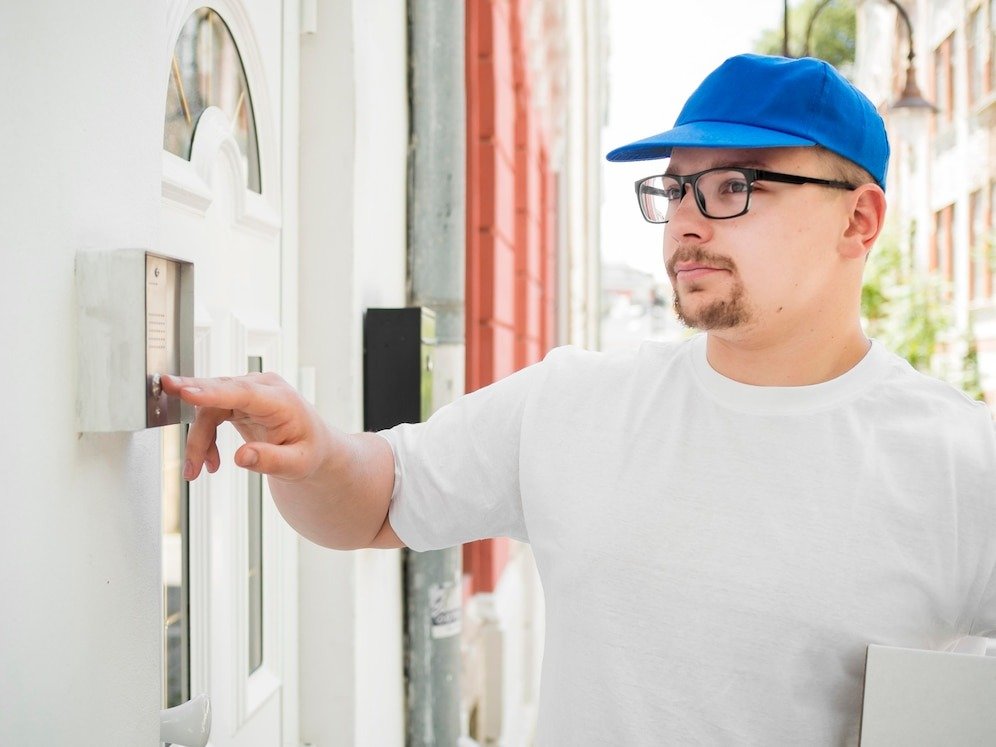
Installing a Ring Doorbell is a great way to enhance home security and monitor visitors remotely. Whether you opt for a wired or battery-powered version, the installation process is straightforward. This guide will walk you through every step, ensuring a smooth and hassle-free setup.
Why Install a Ring Doorbell?
Ring Doorbells offer multiple advantages that make them a popular choice among homeowners. Here’s why you should consider installing one:
- Enhanced Security: Get real-time notifications and video feeds of visitors at your door.
- Remote Access: Monitor and communicate with visitors through the Ring App.
- Motion Detection: Stay aware of activity around your home.
- Smart Integration: Works with Alexa, Google Home, and other smart devices.
- Cloud Storage: Save recorded videos for later review.
Quick Facts About Ring Doorbell
- Installation Time: 15-30 minutes
- Power Options: Wired and battery-powered versions
- Connectivity: Requires a stable Wi-Fi connection
- Compatibility: Works with smartphones, tablets, and smart home systems
- Weather Resistance: Designed for outdoor use, rain or shine
How to Install Ring Doorbell: Step-by-Step Guide
Step 1: Gather Necessary Tools
Before starting, ensure you have the following tools:
- Ring Doorbell kit (includes the doorbell, screws, and anchors)
- Power drill (if mounting on a hard surface)
- Screwdriver
- Level tool (optional but recommended)
- Wire extenders (for wired installation)
- Wi-Fi connection (strong and stable)
Step 2: Charge the Battery (For Wireless Models)
If you’re installing a battery-powered Ring Doorbell, charge the battery fully using the provided USB cable. A full charge can take 4-6 hours, and the LED light will turn green when ready.
Step 3: Download and Set Up the Ring App
- Download the Ring App from Google Play Store or Apple App Store.
- Open the app and create a Ring account (if you don’t have one already).
- Select Set Up a Device and choose Doorbell.
- Scan the QR code on the back of the doorbell to begin the setup process.
- Follow the in-app instructions to connect your Ring Doorbell to Wi-Fi.
Step 4: Choose the Installation Location
- The ideal mounting height is 4 feet (1.2 meters) from the ground.
- Ensure the camera has a clear view of the entryway.
- Avoid placing it too close to walls or corners, which might obstruct the view.
- Test the live view feature in the app to adjust the angle if needed.
Step 5: Mount the Ring Doorbell
For Battery-Powered Models:
- Place the mounting bracket on the wall and mark drill holes.
- If drilling into brick or concrete, insert wall anchors first.
- Secure the mounting bracket using the provided screws.
- Attach the Ring Doorbell by snapping it into place.
- Secure it with the security screws to prevent theft.
For Wired Models:
- Turn off power from the circuit breaker to avoid electric shock.
- Remove your existing doorbell and disconnect the old wires.
- Connect the Ring Doorbell’s wiring to the existing doorbell wires.
- Attach the mounting bracket and screw it in place.
- Place the Ring Doorbell onto the bracket and secure it.
- Turn the power back on and test the doorbell.
Step 6: Adjust Motion Settings
Once installed, fine-tune the motion detection settings in the Ring App:
- Set motion zones to avoid false alerts.
- Adjust sensitivity levels for better detection accuracy.
- Enable people-only mode to reduce unnecessary notifications.
Common Installation Issues and Fixes
1. Poor Wi-Fi Signal
If the Wi-Fi connection is weak, try the following:
- Move your router closer to the doorbell.
- Use a Wi-Fi extender to boost signal strength.
- Switch to a 2.4GHz Wi-Fi network instead of 5GHz.
2. Doorbell Not Connecting to App
- Ensure your phone is connected to the same Wi-Fi network.
- Restart your Ring Doorbell and try again.
- Reset the doorbell by holding the setup button for 15 seconds.
3. No Power in Wired Installation
- Check if the breaker switch is turned on.
- Ensure the wiring connections are secure.
- Verify if the transformer voltage is compatible (8-24V AC required).
Maintenance Tips for Your Ring Doorbell
To keep your Ring Doorbell working efficiently:
- Clean the camera lens regularly to maintain clear video quality.
- Charge the battery every 3-6 months (for battery-powered models).
- Update the firmware via the Ring app for the latest security features.
- Check Wi-Fi strength periodically to prevent connectivity issues.
Frequently Asked Questions (FAQs)
Q1: Can I install a Ring Doorbell without drilling?
Yes! You can use a no-drill mount (available separately) that attaches with strong adhesive strips.
Q2: Does Ring Doorbell work without Wi-Fi?
No, a Wi-Fi connection is required for live video streaming and notifications.
Q3: Can Ring Doorbell be stolen?
Although theft is rare, Ring provides a replacement if your doorbell is stolen.
Q4: Does Ring Doorbell record all the time?
No, it records when motion is detected or when the doorbell is pressed. You can opt for a Ring Protect Plan for cloud storage.
Q5: How long does the battery last?
A fully charged battery lasts 3-6 months, depending on usage and motion detection settings.
Conclusion
Installing a Ring Doorbell is a simple yet effective way to boost home security and convenience. Whether you choose a wired or wireless setup, following this guide will ensure a smooth installation process. With proper setup and maintenance, your Ring Doorbell will serve as a reliable smart home security tool for years to come.